Gretsch Duo Jet 6128 Floating Bridge Replacement
After playing with my new Gretsch Duo Jet 6128 for a while, I decided to change the floating bridge as the angle looked wrong. Since these type of guitars have what is called a “floating bridge”, if the contact to the body is poor, the sound will be affected.
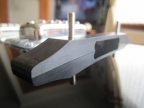
So, I purchased a new Ebony bridge and began about the process of sanding the base. This needs to be done due to the curvature of the body. Since every guitar is different, you need to rub down the new bridge so it fits the body contours exactly.
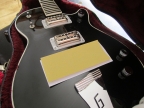
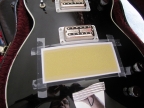
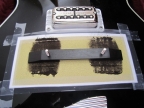
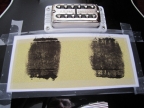
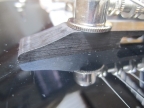
I carefully removed the old floating bridge and took note of the position. I cleaned the body very carefully then cut out a piece of paper and sandpaper. The paper was slightly bigger and you can see it was placed on top of the paper. This would stop any rough edges of the sandpaper causing any scratches.
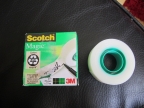
Stretching them both tightly, i taped them to the body with low tack tape. Get the right kind here otherwise it may cause issues on the paint.
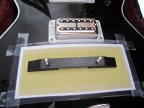
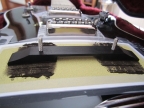
Next, carefully place the new bridge roughly where it should go and start rubbing back and forward making sure you dont tilt it. Take your time and replace the sandpaper with finer and finer types. After about 30 mins, you should be good to go.
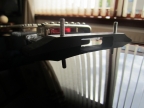
Remove sandpaper and wipe dry. Check the bridge against the body. There should be no gaps at all. Easy No?
